Cut Your Own Bangs
How to Cut Your Own Bangs

Learning to cut your own bangs is not only a good idea but extremely helpful to know when you’re in a bind between haircuts. Cutting your own bangs prolong the time between cuts and can even save you a bit of money. Here you will find out how to cut your bangs, tips before cutting your bangs and things you need to decide on before you start.
To me, cutting your bangs well is very important so I set up some guidelines that will help you cut your own bangs with the perfect outcome. So take the time plan it out, and take that leap.
TIPS before… You start to cut your own bangs
-get the tools that you need, a sharp scissors, a comb, hairclips and a mirror.
-always cut bangs with hair dry. Because of cowlicks or curl in the hair, you need to see how the hair falls naturally and in it’s natural state. Hair that is curly or hair with a cowlick may shrink up when dry, after hair is cut wet.
-if you’re a beginner, start slowly cutting a little at a time. You can always cut more but you can never put back. This also goes for the hair thinning.
STEPS before… You Cut Your Own bangs
First, decide what type of bangs you want, light, medium or heavy.
The heavier you want your bangs, the further back and deeper the part you will make. So the thinner the bangs the part will be closer to your forehead and not as deep.
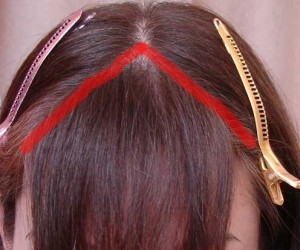
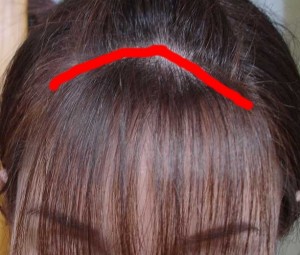
Second, decide what kind of part you will wear your bangs, no part-blunt cut- straight down, middle part, or a side part-sideswept bangs
With the no part and middle part the cut is basically the same, a horizontal cut. With the side part, you will need to cut it at a slight diagonal.
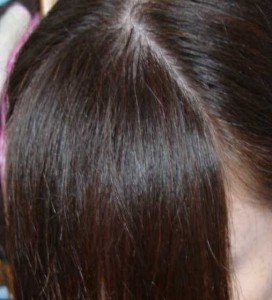
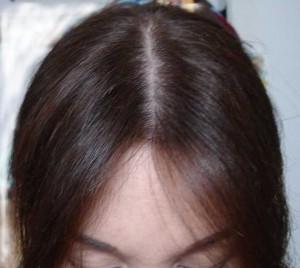
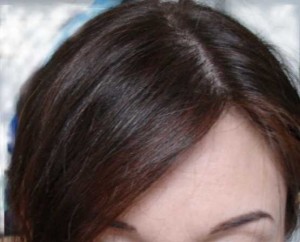
Third, decide on the length you want, short-at the eyebrows and above, medium- at the nose, or long-anything after the nose. For the short, unless you want that baby bangs look, never go above the eyebrows.
Lastly after your cut, to create a more professional look, thinning is the secret. This takes away any heaviness or weight on the cut. It blends in harsh lines, making a feathered softer look.
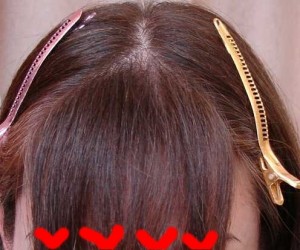
Let’s start to… Cut Your Own Bangs
1. Start by sectioning your bangs-Separating the hair you are cutting from the hair you are not cutting. Creating the part you want for the thickness of bangs you want.
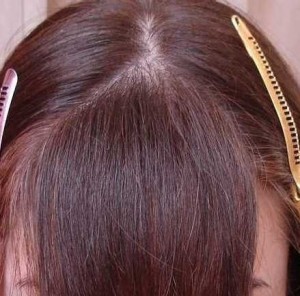
2. For the Blunt straight down part and the Middle part, cut the hair horizontally at the length you decided on. To do a straight line, do small sections of hair at a time pinning up the rest. Hold hair sections between index and middle finger horizontally over your face without tension and cut under your fingers. Then bring down a section at a time using the same hand position and previous cut line as your guide.
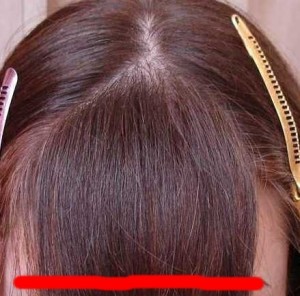
For the Side swept bangs or Side part, cut the hair on a slight diagonal, making sure the shortest side is opposite to the side you are sweeping your bangs to. Do a section of hair at a time pinning up the rest. Hold hair sections at a slight diagonal between index and middle finger over your face without tension and cut under your fingers. Then bring down a section at a time using the same hand position and use the previous cut line as your guide.
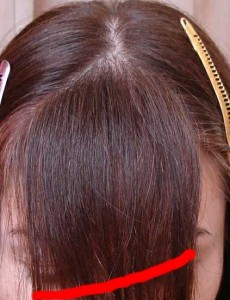
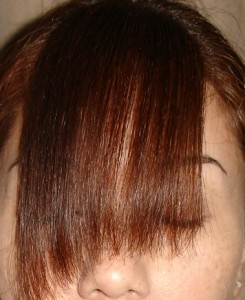
3. Thinning your cut, hold your scissors vertically to your cut line and make little V’s in the line to soften.

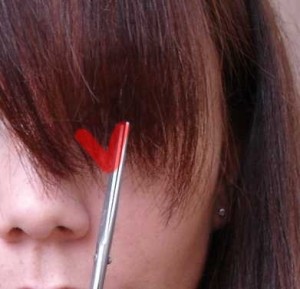
Happy Cutting…….
How to cut your own bangs can be very simple. Always remember, hair grows back if you make any mistakes. And there’s always headbands, pins, hats or other hair accessories,etc….But you will never learn if you don’t try. Practice makes you better, the better you get the more confident you become. You’ll be cutting everyones bangs in no time.


Leave a Reply